Popsicle
While iced treats have been around since the days of the romans, the popsicle as we know it today came about accidentally after a glass with soda mix was left out in the cold with a stir stick in it. This stir-stick, became the handle that would launch a new kind of dessert. To this day, popsicles come many shapes and sizes, but share the same recognizable sticks.
We will use the popsicle form to explore laminating layers of acrylic together.
Ingredients
• 1/8” coloured acrylic 10 x 10”
• 1/4" coloured acrylic 10 x 10" (same or similar colour as above)
• 1/8" baltic birch plywood 10 x 10"
Tools
• 100 grit sand paper, a sanding sponge or a nail file
• Methalyne Chloride or Rez-n-bond
• Natural-hair paintbrush
• Clamps


Files
Directions
1. Download and open the popsicle.ai file.
Measure the material you are working with and adjust the artboards of the file to match.
You’ll see that this file consists of 3 artboards. Artboard one is to be cut out of 1/4" acrylic, artboard two out of 1/8" acrylic and artboard 3 out of 1/8" plywood.

2. Design your own Popsicle shape.

3. To make a complete popsicle you need two halves cut out of 1/4" material, and one out of 1/8".
To add a popsicle stick to your new design make a copy of the popsicle stick provided and lay it over top of your shape so that it goes about half way into your shape. Use the pathfinder Minus Front tool to leave a slot for your popsicle stick to fit in later.


4. Add your own logo or message to the handle of your popsicle sticks.

5. Send your pieces to be cut.

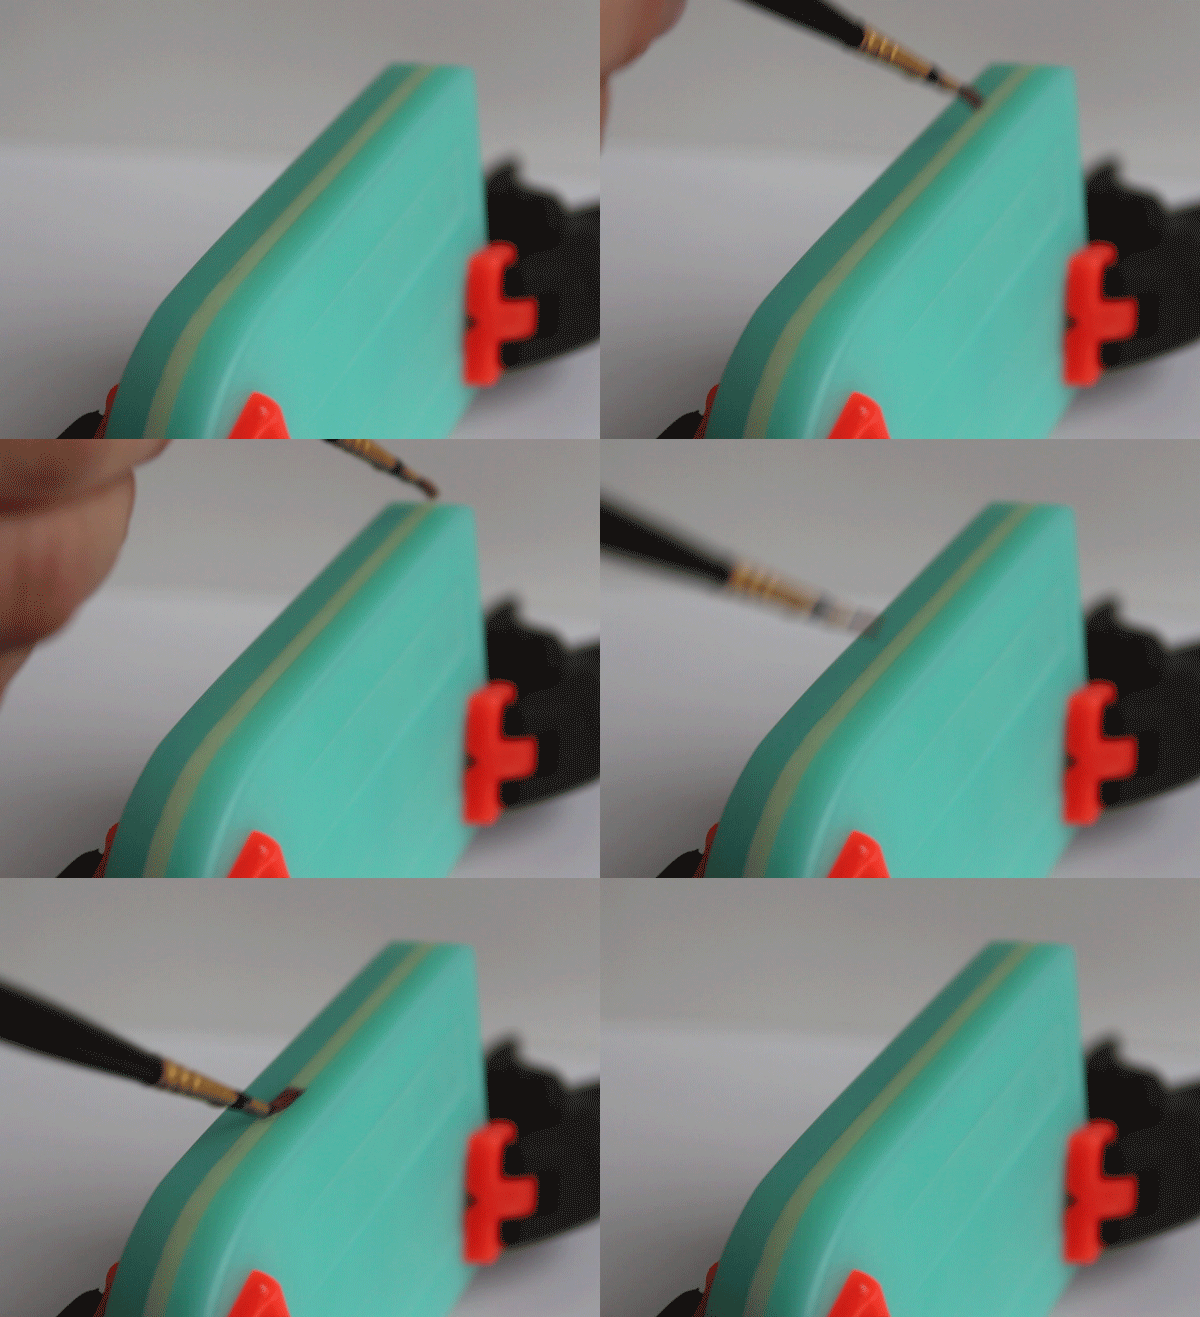
6. Once you have all your popsicle parts cut, you can use methelyne chloride (aka rez-n-bond) to stick these pieces together. To do this, dip your natural hair paintbrush in the rez-n-bond. [Note that a synthetic paintbrush will melt!] Run the brush along the edges of the pieces. You will see that the liquid is sucked inwards and any left over evaporates quickly. You may want to use some clamps to hold the acrylic in place while you do this.

7. Once the acrylic pieces are glued together, use a file to soften the sharp edges of the popsicle. You can use fine sandpaper to give the entire popsicle a frosty look. This can also be achieved with a sandblaster if you have access to one.

8. The final step is to put the popsicle stick in place. You may need to sand it down a bit to be able to slide it in. You can use methelyne chloride or regular white glue to secure it.

Use Different Materials and Shapes

